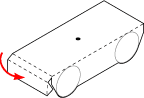
| Cut out the main section of the train. Score and fold the sides of the train. Shape the rooftop of the train into a curve by pressing the paper against a round pencil or dowel.
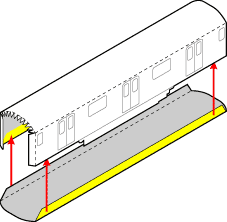
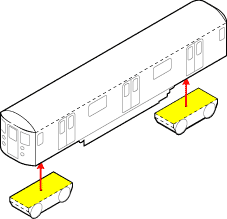
Cut out the bottom floor of the train and fold the tabs upwards. Make sure the bottom piece is flat and straight.
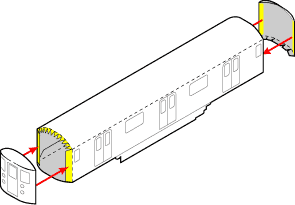
Match the 'front' and 'back' ends of the floor and train sides. Then glue the floor section inside the walls of the train, so that the floor is lined up with the bottom of the walls. |


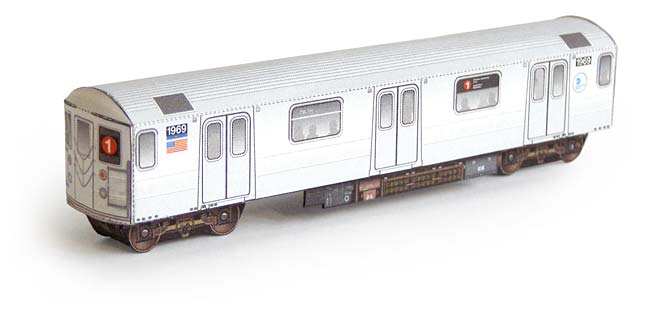 Subway IRT 1 Train